DIY Top-down Bottom-up Roman Shade
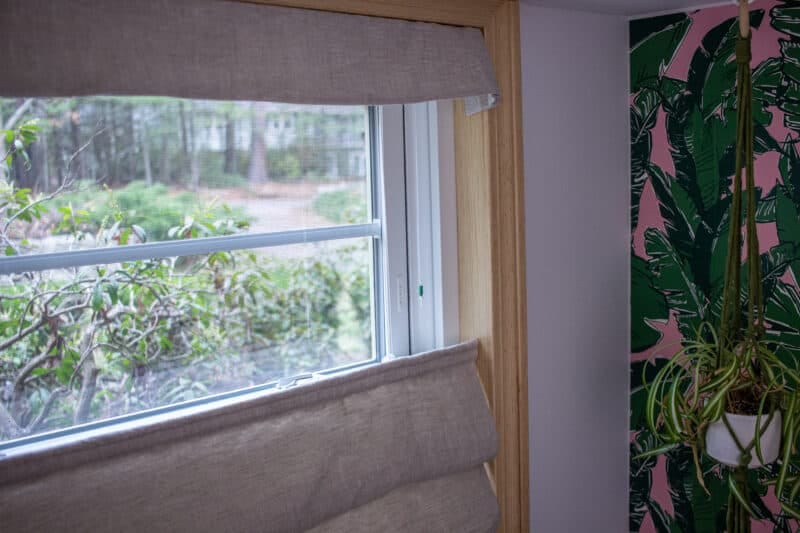
Many of my other home décor projects up to this point have centered on my powder room renovation, leaving just one daunting project to complete the room: a top-down bottom-up roman shade. I wanted to continue the hobbled roman shade look from my studio into the attached bathroom because they add a lot of texture and warmth to a space that otherwise could be very cold feeling.
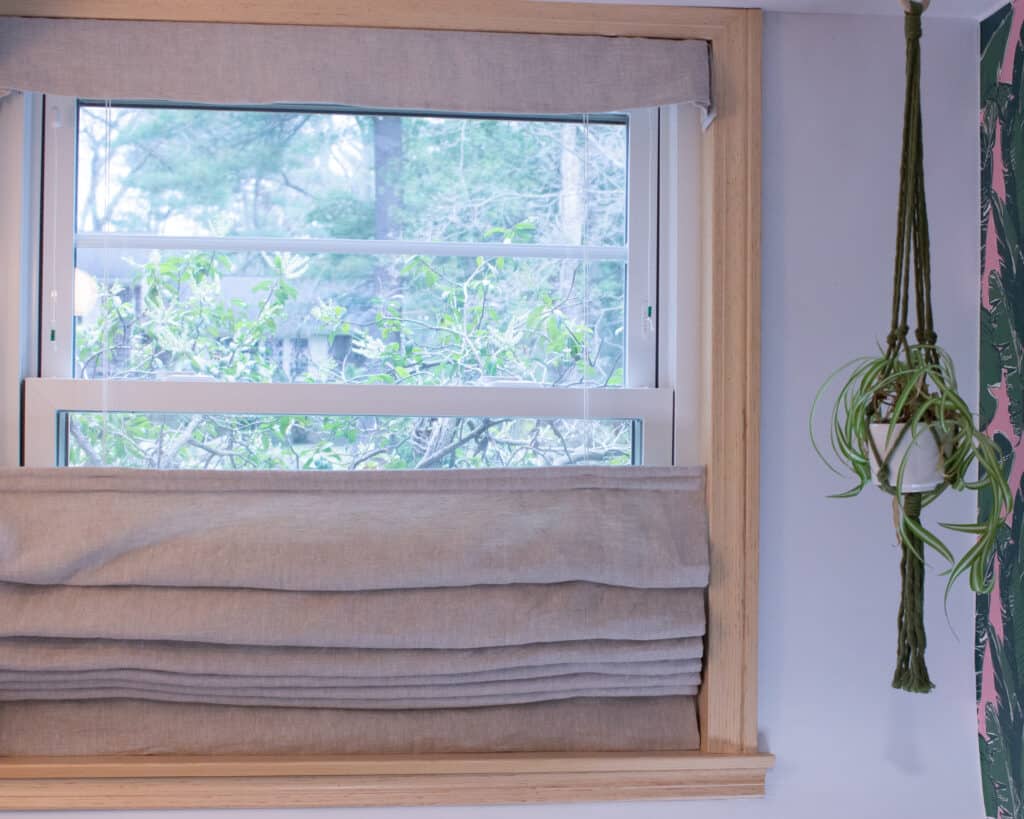
The only thing is this shade needed to be lowered from the top to allow sunlight into the bathroom for my plants, while blocking the view from passerby’s on our walkway. I had a difficult time finding a tutorial, so almost all the steps in this post were created as I went. I hope they help you get a better understanding of the components and steps needed to create your own top-down bottom-up shade.
This post is only going to talk about the differences or adjustments I made compared to a standard shade. For a walkthrough of the standard shade construction, I’d recommend watching either my YouTube video or the Sailrite instructional video.
I have materials listed for the regular shade build in the description of my YouTube video. Additional items needed is a second weight rod, a second cord lock, and additional lift cords. Supplies for the valence are listed under that section below.
List of Changes Needed for Construction
- Adjust the top segment so it’s the same length as other segments. On a standard shade, the top and bottom segments are shorter than the middle segments. I wanted the top segment to be the same as the middle segments since it’s not attaching to anything like in a standard shade. To do this, I simply added all non-bottom segments together (including the add-on for hobble depth) and then divided by the total number of segments. This will leave the bottom segment a little shorter than the rest (since it’s not hobbled, it just hangs down flat) and make all other segments the same.
- Minimize the number of lift cords and move inward. Reducing the lift cords was an aesthetic choice. With the top down, I didn’t want to see 4 exposed cords, so I reduced the number to 2 for a 35″ wide window. Any larger, and I would suggest using 3 cords. Moving the cords inward will allow for easier functionality compared to the Sailrite directions. They have lift cords on either side of the cord locks, but since we now have 2 cord locks, it’s simpler to have the cord locks be all the way on the outside.
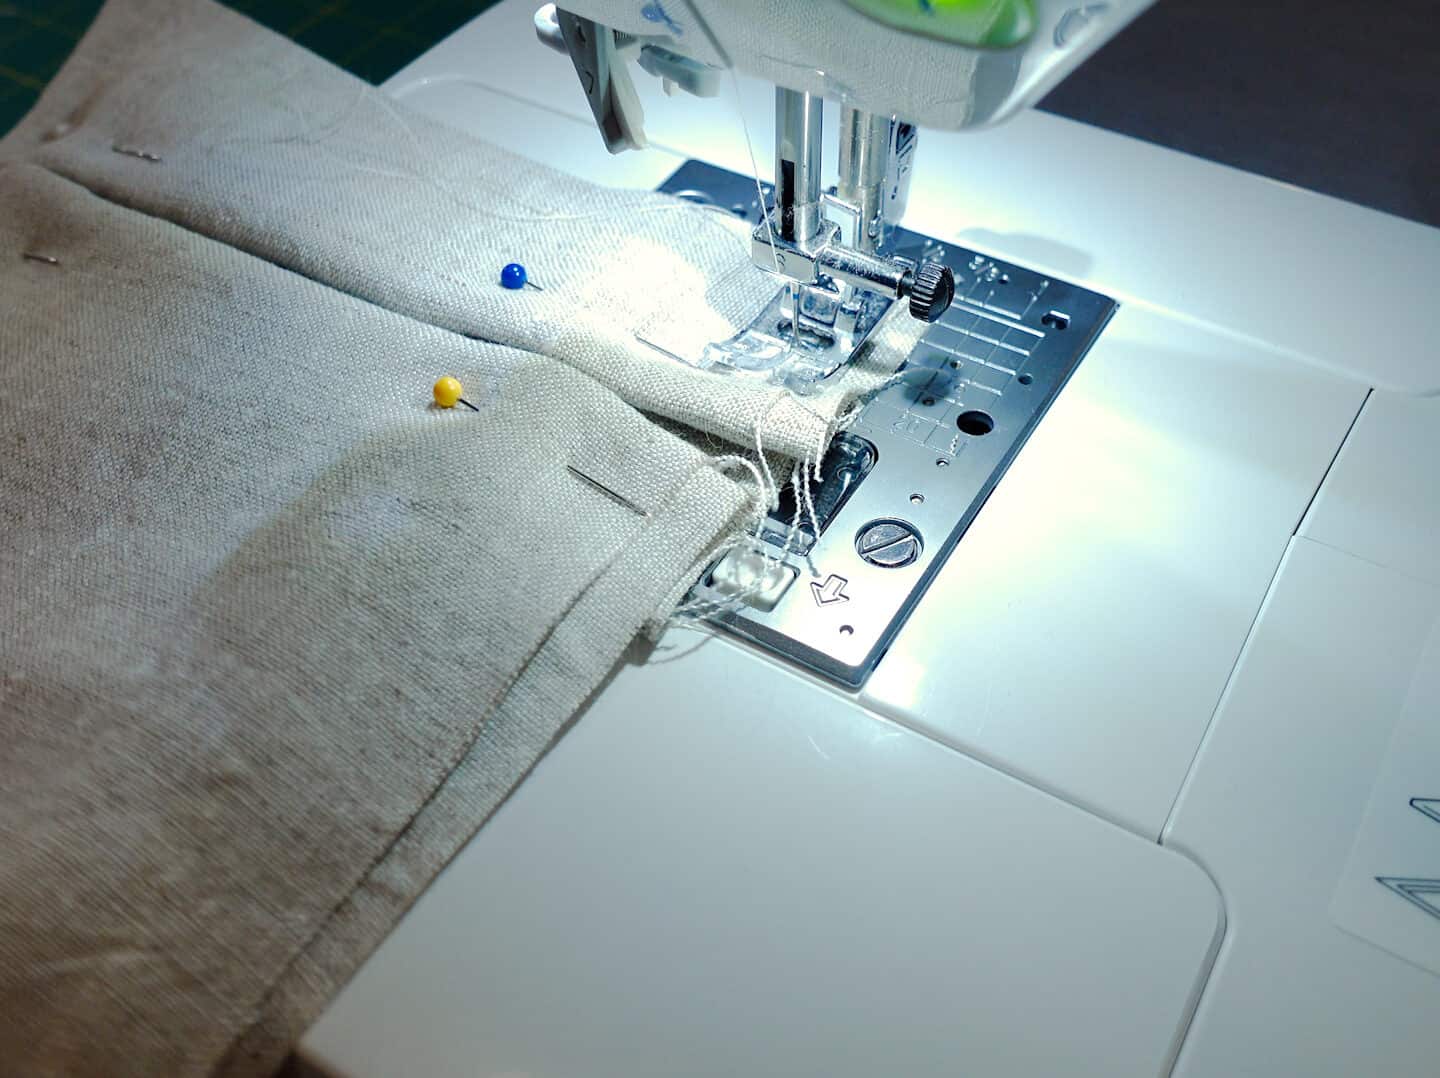
- Create rod pocket on top hobble before attaching lift cords. I demonstrate this part in detail in my YouTube video, so I will only cover steps 3-7 briefly here. You will need to mark where the top of the hobble should be, then fold the extra fabric over and sew a line about 1/2″ down from the mark. This is for a plastic rod that goes into all the hobbles. The plastic rod will be in the very top pocket and we’ll create a second, lower pocket right below for the metal rod.
- Hem extra fabric. Cut the extra fabric 1.5″ from the bottom of the top rod pocket. This will be exposed on the back of the curtain, so fold the fabric over to hem. Leave enough space to create a 3/4″ pocket.
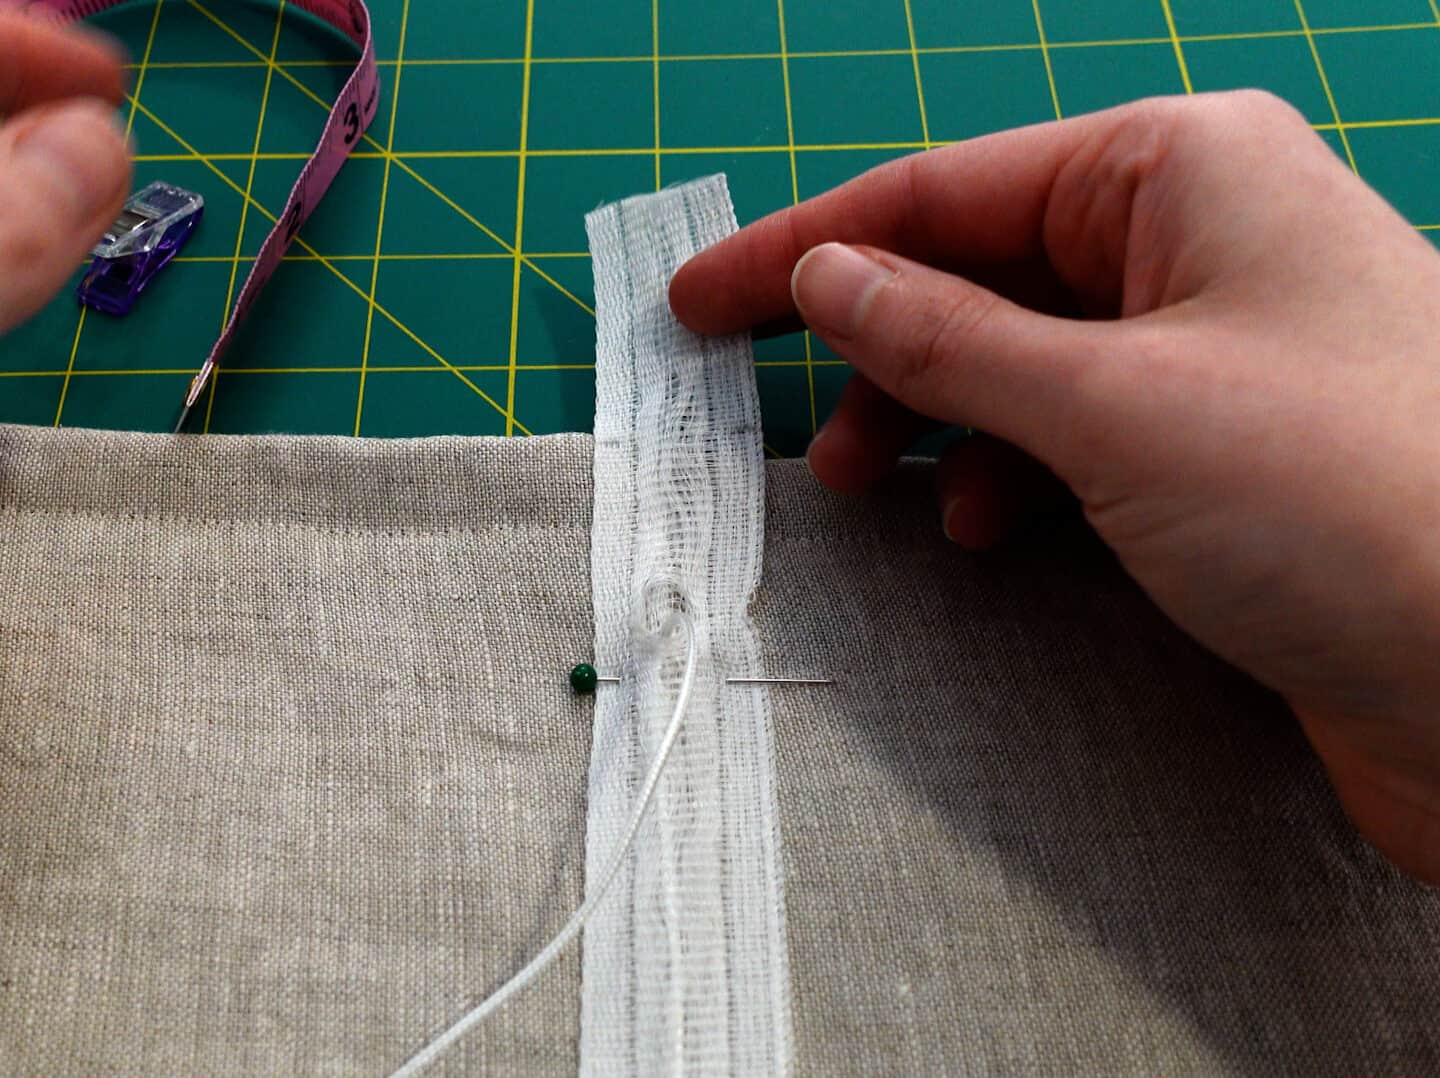
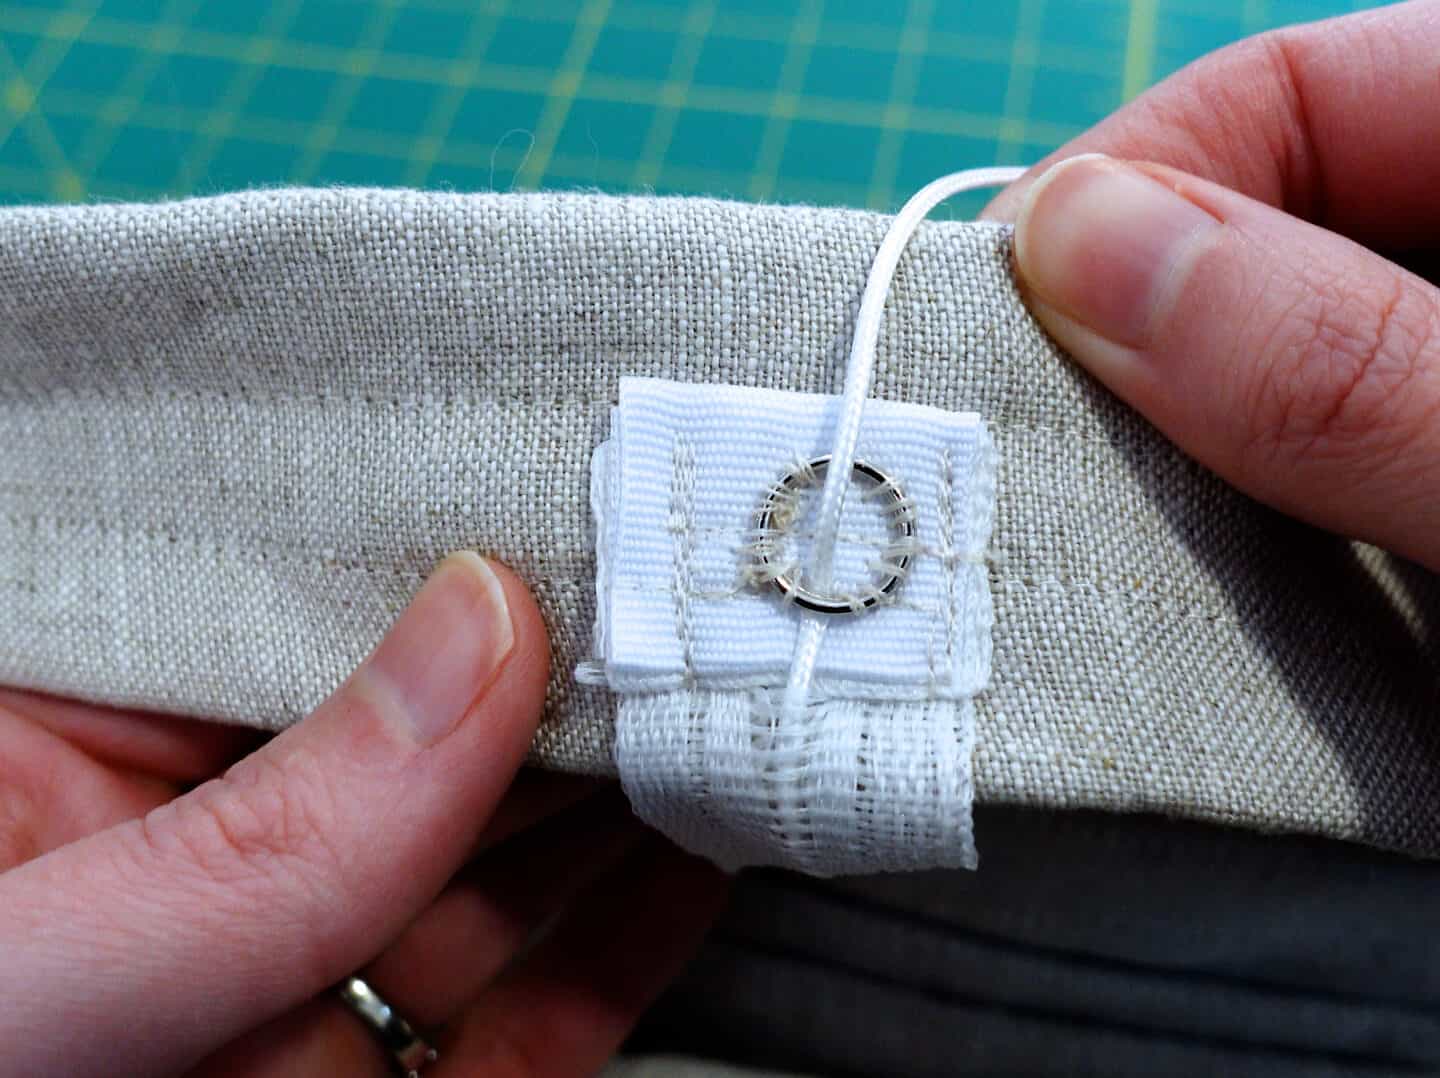
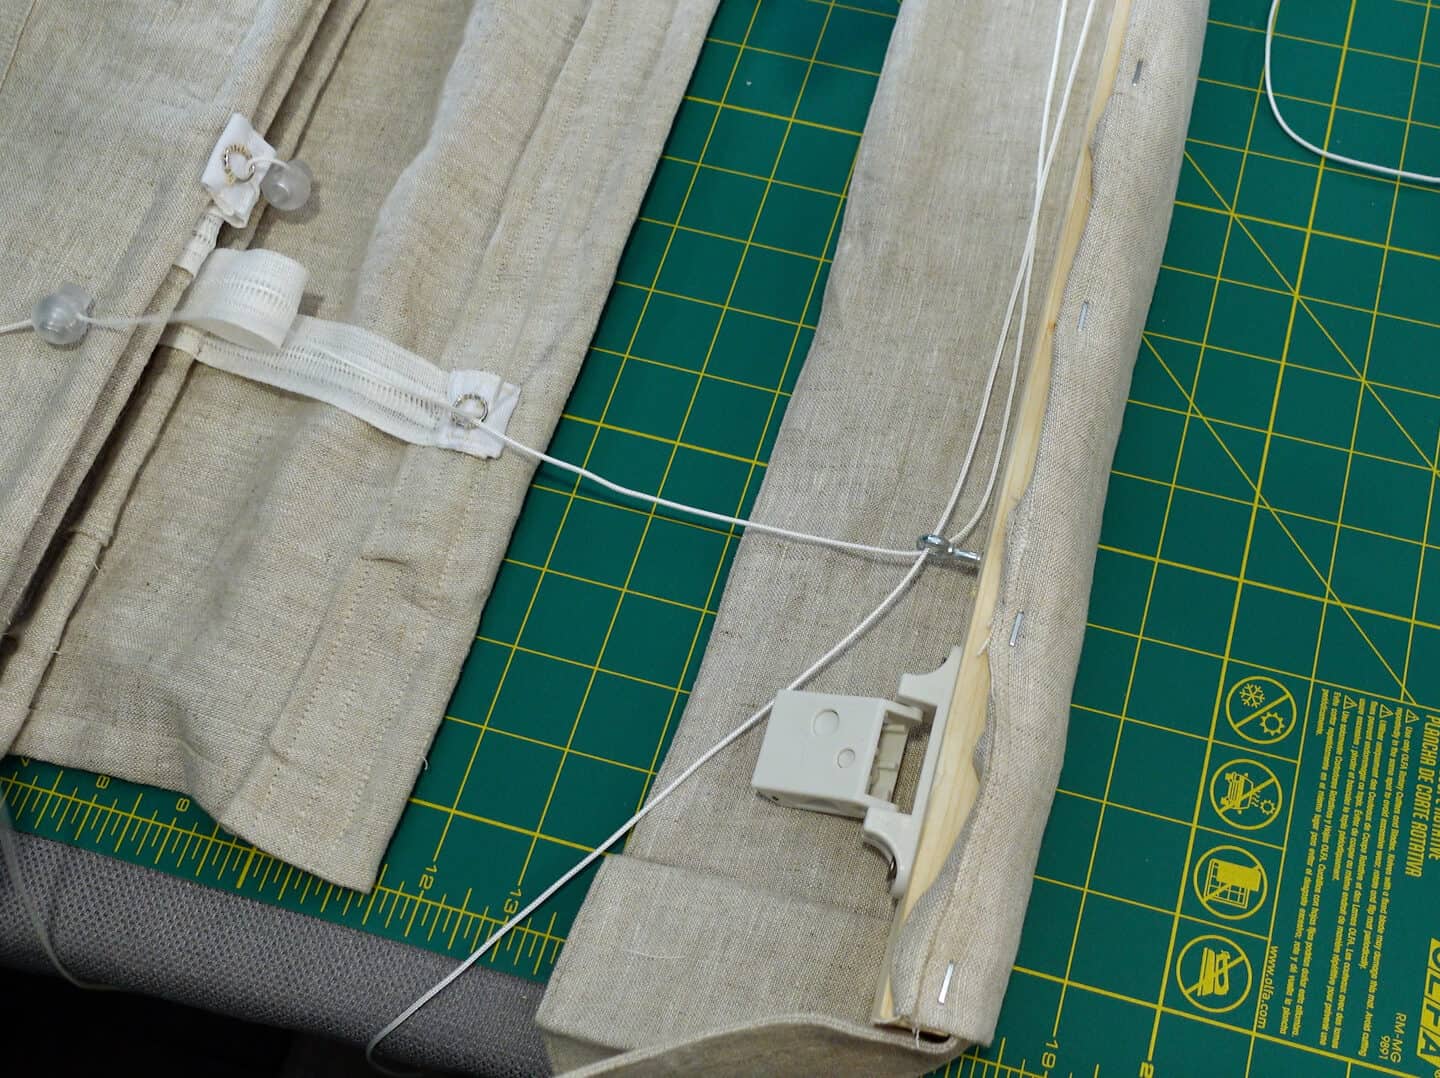
- Cut lift cord shroud tape. The lift cord should already be marked to create the appropriate sized hobble. Pin where it’s marked to the top of the shade. Pull the lift cord out 1″ below the mark. Cut the shroud tape 3″ above where the lift cord is pulled out. Unpin and follow the same procedure for securing the bottom of the shroud tape and attaching the metal ring. Pull lift cord through metal ring.
- Attach lift cord to fabric just hemmed. Attach the lift cord by flipping the hemmed extra fabric out and sewing along the sides of the lift cord tape. This will ensure the sewing cannot be seen from the front.
- Create an extra pocket below the top pocket. This pocket is for a metal weight rod and will allow the curtain to work top-down. Now that the lift cord is attached and the fabric is hemmed, you can sew a straight line at 3/4″ from the bottom of the top pocket through all layers of fabric. This will keep the metal weight rod from flipping upwards.
- Add second set of lift cords to upper rings just made. So far, we have been working with the lift cords that are part of the standard bottom-up shade. Now it’s time to attach the cords that will operate the top-down feature! To do this, simply cut 2 more lengths of lift cord. If your lift cord has a shroud tape, remove the shroud tape as all of the lift cord will be exposed. Thread the cords through the upper ring we just attached to the top of the original cord tape. Add an orb to the end of the cord to secure it in the ring.
- Make valence to cover the cord locks. For a standard bottom-up shade, this isn’t needed as the shade itself covers the hardware. I know valences are generally “out,” but I don’t see another way to cover the hardware! Steps for the valence will be placed further down in this post.
- Drill both cord locks and cord guides into the header board. As mentioned in step 2, I altered where the cord locks would be placed compared to the Sailrite instructional video. I attached each cord lock close to the outside of the headboard, leaving an inch or so on the outside edge. You need 2 cord locks instead of the usual 1 to operate the top-down and bottom-up cords separately. I put the standard bottom-up lock on the right and the top-down lock on the left.
- Thread cords into their respective cord locks. Not going to lie, I had to do this step 3 or 4 times. Make sure
The rest of the shade assembly went the same as for a standard shade for the most part. Once the shade was up, I still saw the top plastic rod flipping forward too much, so I ended up sewing the top of the shade around the top-down lift cord for extra stability. This cord doesn’t move up and down inside the shade, but is stationary, so I thought it was the best way to add security.
Valence Directions
The valence was fairly simple to make, but I also didn’t do any piping or add extra pleating. I ended up watching a Craftsy class on construction, but I am going to distill the basics here in addition to my YouTube video.
Materials
- extra matching fabric
- fabric lining (I used the same fabric as for the shade)
- staple gun and staples
- header board (you need one for a standard shade as well). Mine was 34.5″ wide, 2″ deep, and 3/4″ tall for a window that was 35″ wide.
I’m going to describe how I calculated the total fabric I needed based on my header board measurement, so you can cut your fabric for your specific window width.
First, I calculated the height of the fabric. The fabric is wrapped around the back of the board, so I added 3.5″ of extra fabric to account for the depth of the board and the seam allowance between the lining and outer fabric. I also needed 3.5″ to cover the cord lock and 1/4″ seam allowance. This gave me a total height of 7.5″.
Second I calculated my fabric length. I needed 38.5″ to cover the front and sides of the board. Next, I chose to make 2″ pleats on each corner, which requires 4″ of fabric each. Last addition was 1/4″ seam allowances on each edge, giving me a total length of 47″.
Assembly
Pin the lining the exterior fabric with right sides together and sew the 1/4″ seam allowance around the front and sides.
Now it’s time to make the pleats! These are really satisfying and easy to make. Mark where you want the center of the pleat to be (on the edge of the header board) and fold the fabric over 2″ on either side of the center. Pin, press, and zigzag stitch across the back of the fabric. My YouTube video covers this step pretty thoroughly if this isn’t making sense!
Before attaching the fabric to the header board, it’s important to pre-drill the holes for mounting the entire shade. Otherwise, your fabric may tear when drilling through.
Staple the valence to the back of the header, making sure to overlap the fabric on the edging so it doesn’t bunch up too much. I ended up having to cut a little triangle out of the corner because the fabric was too thick. The last step is to cut holes into the fabric above where the pre-drilled holes are.
Now, we put everything together! The shade will be in two parts: the valence with the cord locks and the fabric shade with the lift cords. Thread the lift cords through their respective cord locks and drill the entire thing into the window frame. Viola!
I know this ended up being a really long write-up, but I hope it helps to demystify the top-down bottom-up shade construction.