How to Weave any Pattern on a Rigid Heddle Loom
The rigid heddle loom is perfect for projects like scarves, hand towels, and using art yarn.
The rigid heddle loom is perfect for projects like scarves, hand towels, and using art yarn. In addition to my rigid heddle, I have a floor loom with 8 shafts that I can weave an endless array of patterns on. Rigid heddles have (most commonly) one shaft, which greatly narrows down the patterns you can weave. Some might think this is a bad thing, but in combination with a floor loom, I find the rigid heddle fills a specific role in my weaving.
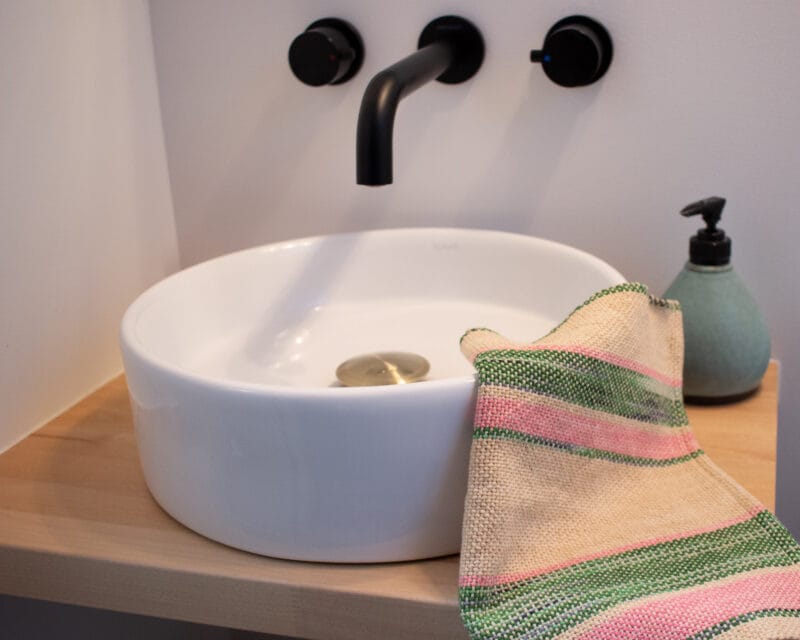
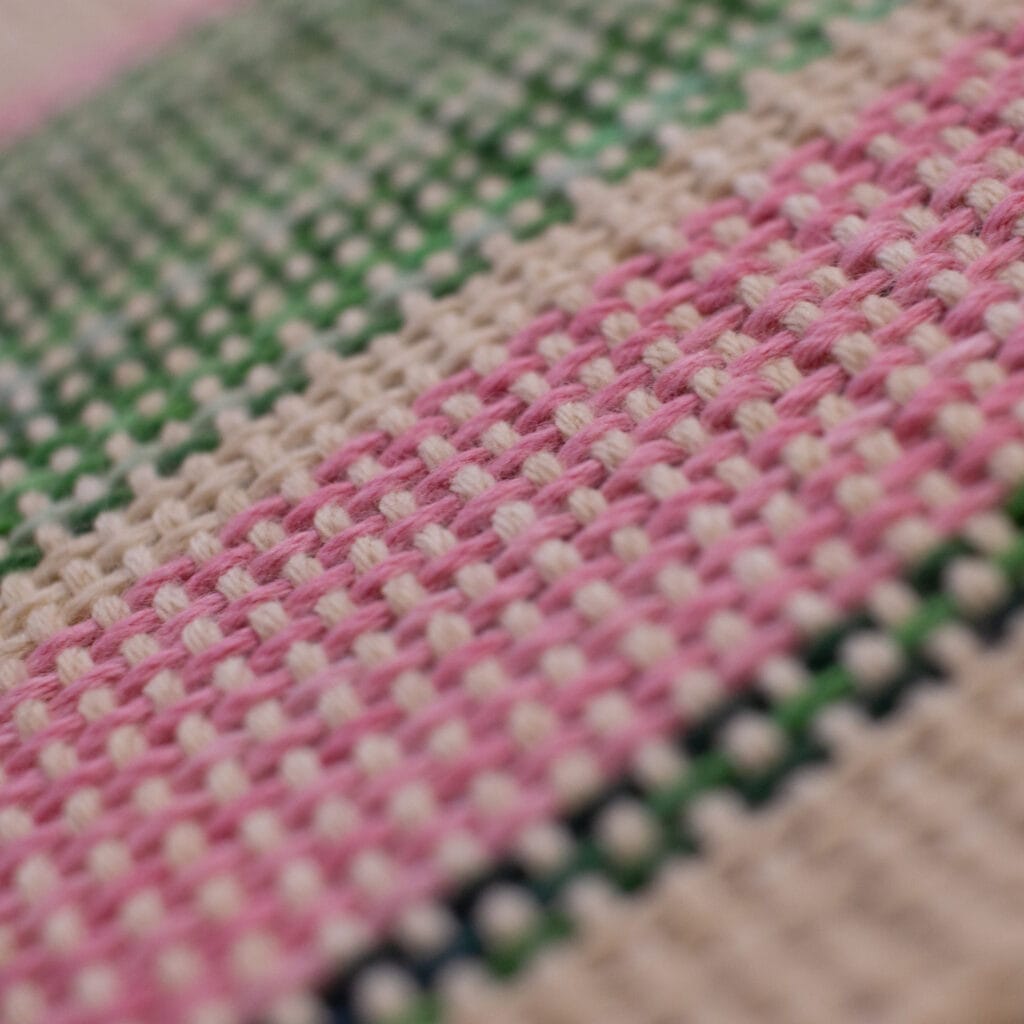
The hand towels I will be weaving for my studio bathroom is a perfect example! I didn’t want to spend weeks sampling and knew I wanted a simple pattern since the wallpaper in the room is quite bold already. I found a tea towel pattern by Christine Jablonski that uses the Fibonacci sequence to set up the striping pattern and wanted to give that a try. I ended up modifying the pattern quite a bit to work with thicker yarn and on a rigid heddle, but was able to maintain the striping. I’m going to go through the steps in how I modified the pattern so you can do the same next time you find inspiration!
Materials needed for this project:
– yarn of your choice
– a pattern you’d like to weave
– rigid heddle loom. I have a 20″ Schacht Flip with a 12 dent reed
– Inventive Weaving on a Little Loom – this book walks through tons of pattern ideas, warping, and yarn choices specific to a rigid heddle.
Step 1: Reduce the Number of Shafts Needed
The pattern calls for a 4 shaft loom, which is to make the point twill pattern. Changing the structure to plain weave meant I didn’t need more than 1 shaft, making the pattern suitable for a rigid heddle.
Step 2: Reduce the EPI
It doesn’t really matter what yarn the pattern used, what is more important is the epi (ends per inch). Ends per inch describes how many warp ends fit in to an inch measurement. The original pattern uses 20 epi. I believe the smallest reed you can buy for a rigid heddle is 12 epi, which is what I have. I could either thread multiple threads through each slot in the reed to make the epi match the pattern or use a thicker yarn than the pattern and create a cloth with 12 epi. I chose the latter as I wanted this project to weave up quickly.
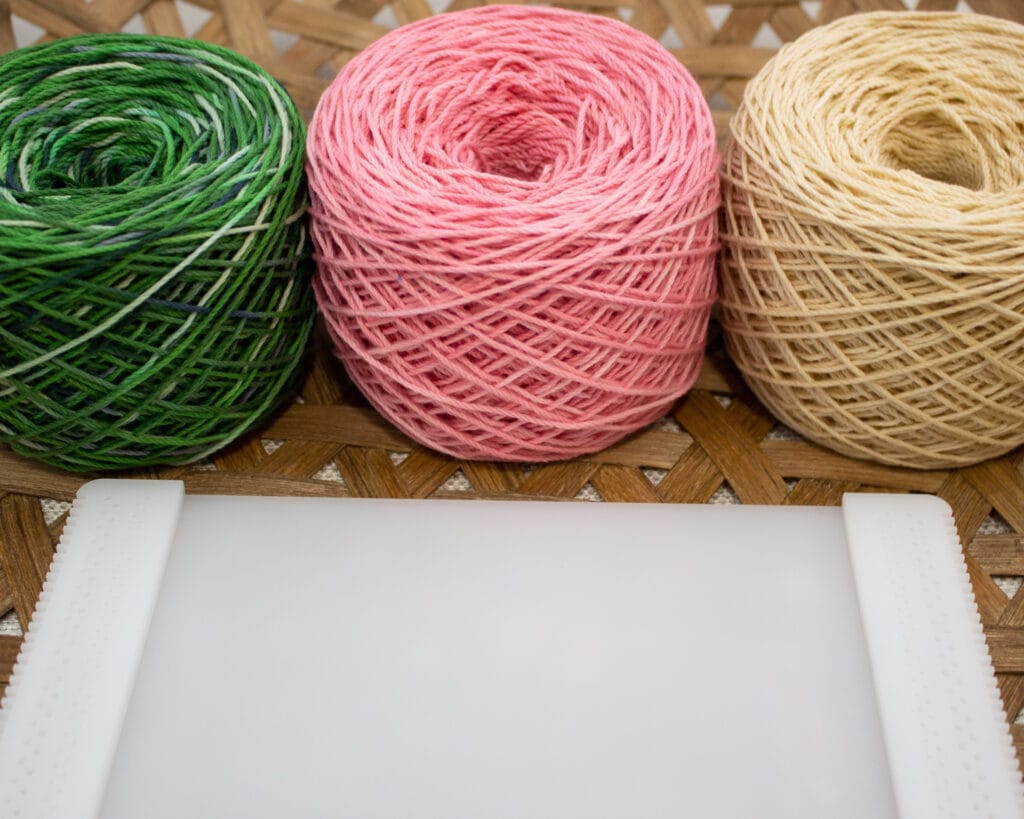
Step 3: Choose Your Yarn
I had sport weight cotton yarn on hand, so I wanted to use that. There’s many ways to measure the thickness of yarn, and depending on which craft you’re doing, the yarn will be labeled differently. This can really throw people off because it’s hard to cross reference the different labeling systems. My solution is to find a yarn you want to use that is similar to what you think the pattern calls for and SAMPLE!
Once a sample is woven and washed you will know if the epi and yarn you have chosen will work for your project.
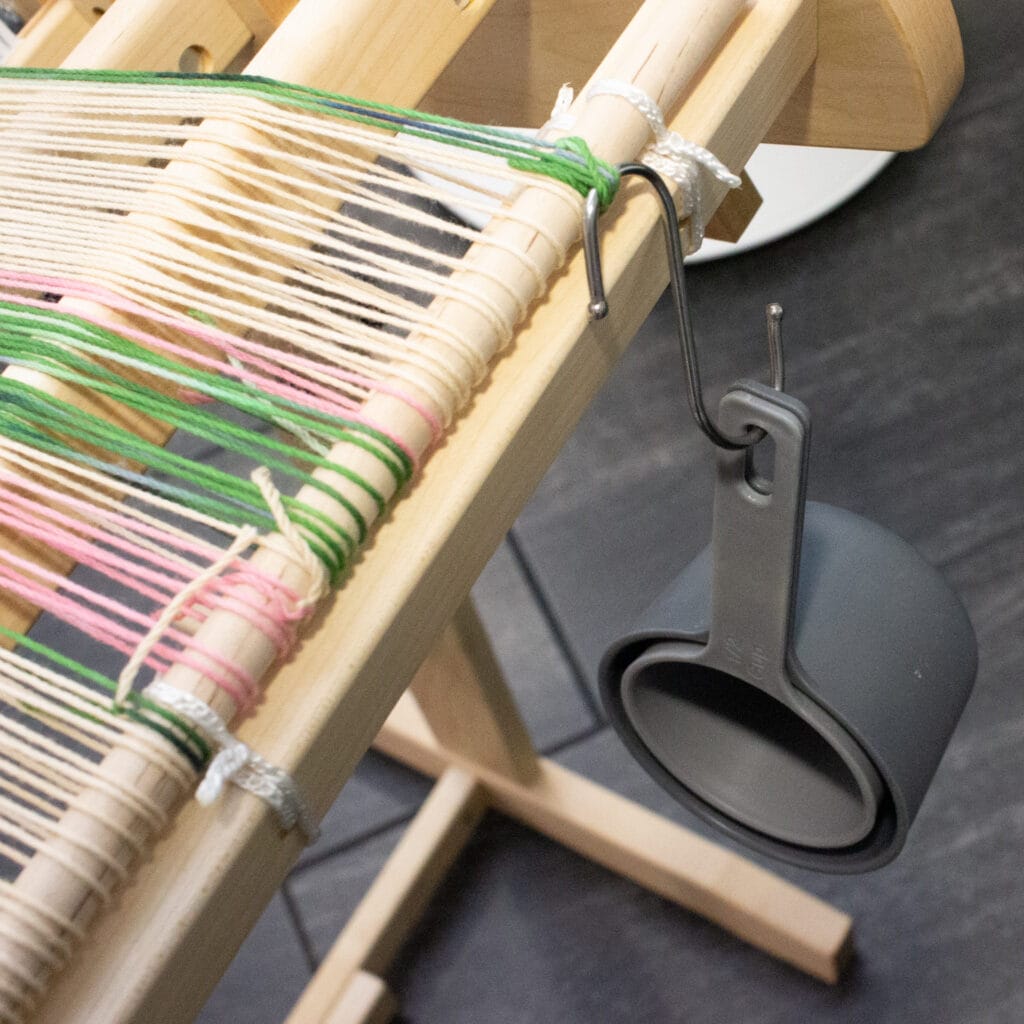
I have a little pin loom that has multiple epi I can choose from, which is perfect for sampling for the rigid heddle. Once a sample is woven and washed you will know if the epi and yarn you have chosen will work for your project.
Step 4: Calculate Warp Ends
Now that everything is sampled, go back to the original pattern and calculate how many warp ends you will need. Since my pattern is striping, I wanted to maintain the stripes in the Fibonacci sequence. This means I simply divided my warp ends by half from what the pattern called for. This got tricky since my ends per inch is not half of the patterns’ (20 epi vs 12 epi). The original width in the reed is 14.5″, so mine would be 12″ after dividing warp ends in half. Since I sampled, I knew my draw-in (shrinkage in the width) would be around 20%. My hand towels would be a little too small after washing, so I decided to add two more small stripes to the end of the pattern. This brought my width in the reed to 13″ and my total warp ends to 155.
Step 5: Calculate Warp Yardage
The pattern calls for the towels to be 21″ long, and I planned on weaving them the same length, however, I will only made two hand towels instead of three. When sampling, I didn’t measure the length of the woven piece before and after it was washed to determine the take-up. Instead, I estimated the take-up to be 10%. Loom waste also needed to be accounted for. For a rigid heddle, I use 12″. There is a certain amount of space that just can’t be woven because the apron rods only extend so far and the shed becomes too small to work with. I warped 60″ for my two hand towels and it was a little too short.
Warp Calculation = [(total project length x take-up) + loom waste)] x total ends in each color
Step 6: Calculate Weft Yardage
Weft is a little harder to calculate when you’re weaving a complex pattern, but we can assume that a plain weave woven with the same yarn in both warp and weft is balanced. This is important because you will need to know the picks per inch (ppi) in order to calculate weft yardage accurately. The ppi measures how densely the weft is packed in per inch. You will need to measure this before your sample is washed (which I also forgot to do). However, since the weave pattern is plain, I assumed my ppi was 12, the same as my epi. We already figured out how wide the towels would be on the loom and the project length, so we can multiply all those together to get the estimated weft. I estimated I’d need 250 yds of weft.
Weft Calculation = total project length x ppi x project width
Pheeewwww, now that the hard part is done, on to the weaving! Warping on a rigid heddle can be done two ways: direct tie-up or warping board. I always choose the direct tie-up method for the rigid heddle since it is really two steps in one. As you’re warping, you are also halfway done threading the reed! I think the best way to learn about warping is to watch the process. My YouTube video walks through the process of warping using the direct tie-up method and is embedded below!
I hope these steps will help you feel more confident in altering weaving patterns to suit your project and loom.
Please note, some of my links are affiliate links and are a great way to support the effort I’ve put into creating useful, fun, and informative blog posts.