Using Fiber Reactive Dyes to Paint on Fabric
There are many choices for adding color to fabric, the two main categories being dyes and inks. Dyes will soak into the fabric, creating a bond, while inks sit on top of the fabric.
There are many choices for adding color to fabric, the two main categories being dyes and inks. Dyes will soak into the fabric, creating a bond, while inks sit on top of the fabric. Some inks will change how the fabric handles, but I haven’t noticed a change when using water based screenprinting inks.
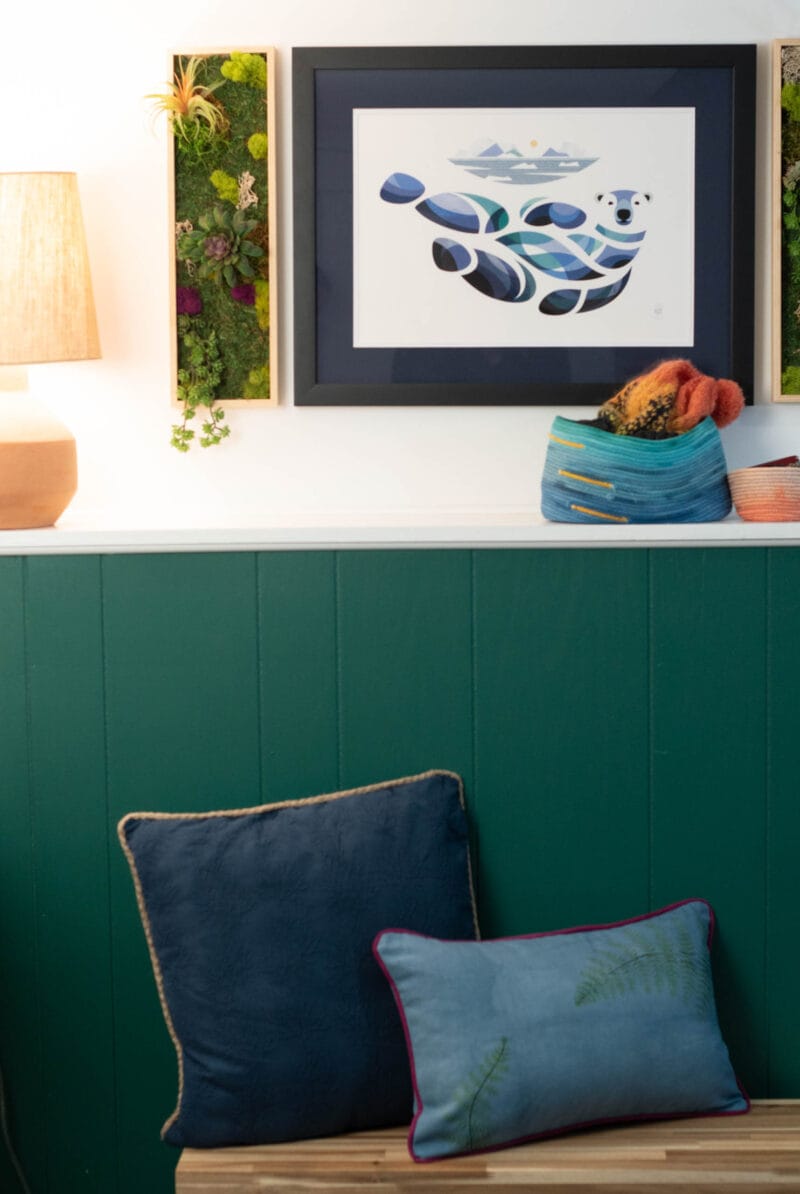
For this pillow project, I wanted to use both fiber reactive dyes and screenprinting inks. Before Random B at Home, I owned a cotton yarn dyeing business, giving me extensive experience using fiber reactive dyes. However, I’ve never used them to paint on fabric! I was hoping for a watercolor effect on the fabric, with less control than I’d get screenprinting.
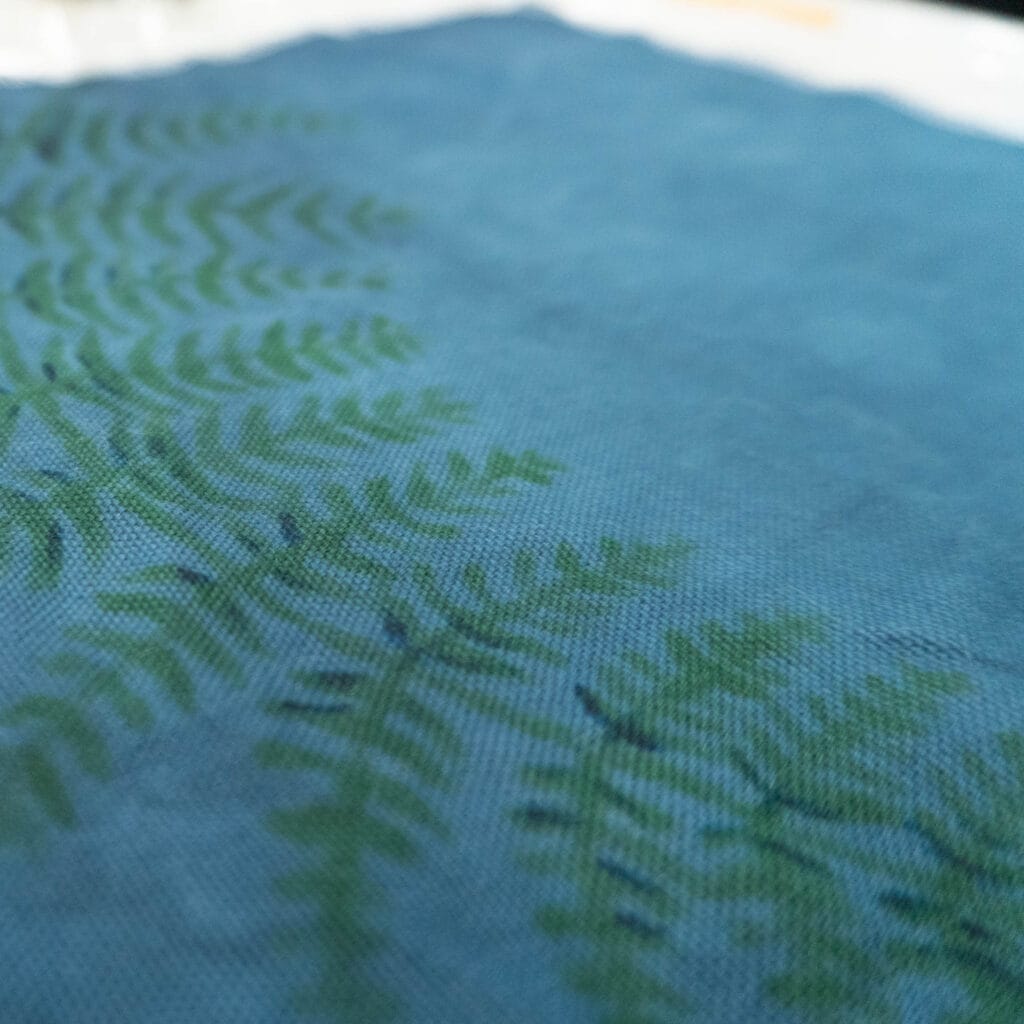
I’ll be painting on some cotton canvas fabric I had attempted dyeing previously, but came out too blotchy for what I wanted. It’s important to note that a cellulose fabric works best with fiber reactive dyes. Today’s blog post will focus on dyeing the fabric, while the rest of the pillow creation can be found on my YouTube channel.
Preparing the Fabric for Dyeing
The first step is figuring out how large your finished piece will be so you know where to paint. Once that’s done, you should overcast the edges so they don’t fray. The dyes will only work in a basic environment, which is created by using soda ash. It can be added to either the dye itself or by soaking the fabric in a solution of soda ash. I’ll be using the latter, because then I won’t have such a short working time with the dye (about 1 hr) and I’ve found the dye comes out stronger with the pre-soak method.
Create a presoak solution by adding 9 tbsps. soda ash with 1 gallon of water. Let the fabric soak for about 30 min. Ann Johnston has many resources on how to dye fabric, which is where I learned this ratio. Wear gloves when handling the soda ash and the fabric after it’s been soaked.
Mixing the Dyes & Solution
If I mixed the fiber reactive dyes with a standard solution, the dye would seep along the fabric and I would have very little control. To mitigate that, I created a more viscous solution using sodium alginate (seaweed).
Mix 2 tsps. low viscosity sodium alginate with 1 cup of water. If you have hard water like I do, you’ll want to add 1/4 tsp. water softener to the water first. This is a modified solution from Fabric Painting and Dyeing for the Theatre that has a lot of information on interesting dyeing techniques used in theater productions.
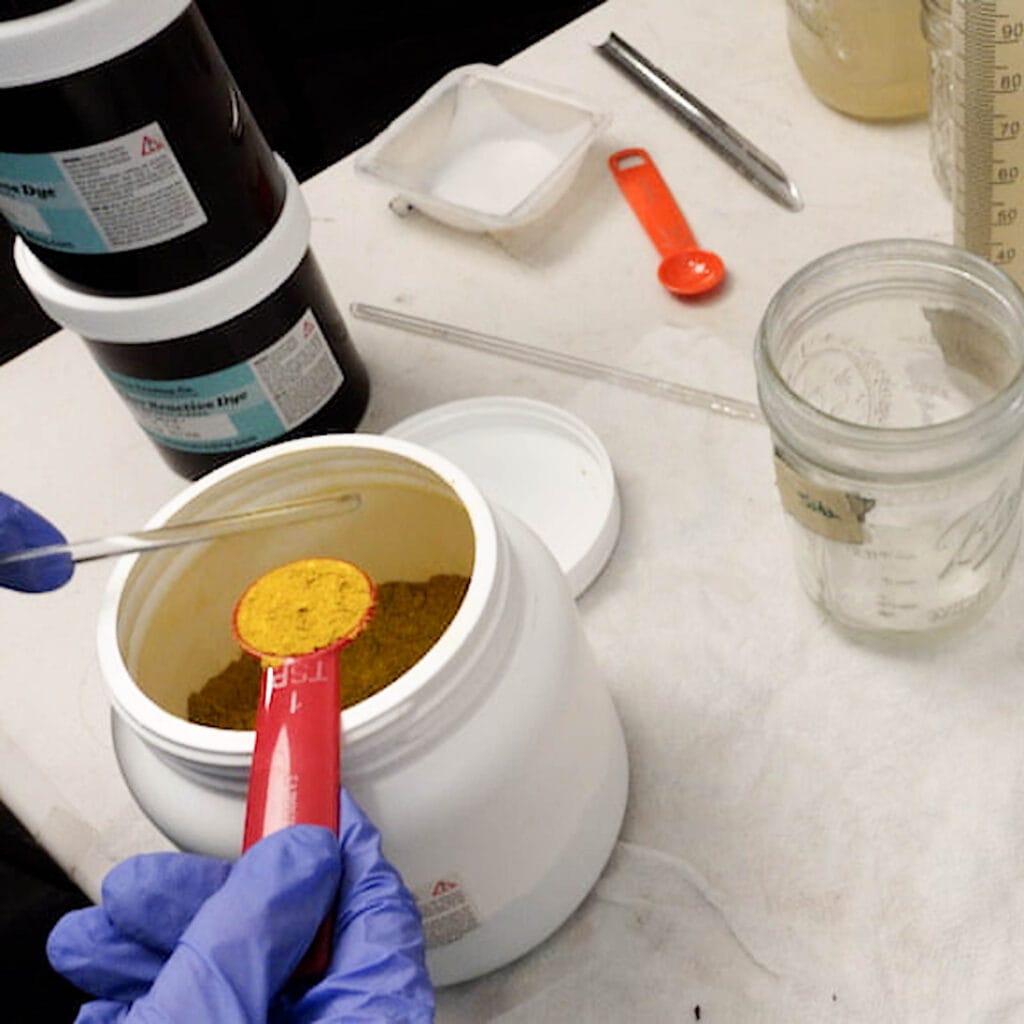
I love using fiber reactive dyes because there’s a wide range of pre-made colors that can be further mixed to create hundreds of possibilities. A general rule of thumb is 1 tsp dye + 100 ml dye solution for starting out. However, depending on the color and how saturated I want the end result, I’ll double or halve the amount of dye used per 100 ml. You certainly don’t need to mix your own colors, but I’ll provide the recipes I used for this project if you’re interested.
My recipes
Lime Jade: 80 ml lime + 20 ml jade
-Lime squeeze: 1 tsp + 100 ml
-Jade Green: 0.2 g + 25 ml
Azure Raven: 18 ml azure + 2 ml raven
-Azure Blue: 1/2 tsp + 25 ml
– Raven Black: 0.15 g + 6 ml
If you want to keep the project simple, supplies you’ll need include: a set of teaspoons, a way to measure liquid, containers to mix the dyes, and a tool to mix with. Additional supplies could include a scale, pipettes, weigh boats, and glass stir rods. Once items are used for dyeing they cannot be used for food again.
Fiber reactive dyes are fairly safe, but the powder can cause a reaction and it’s best not to get the dye on your skin. Necessary safety equipment includes an N95 mask when working with the dye powder (I use a p100 since it’s more comfortable), eye protection, and gloves. Further, the dye powder really flies everywhere, so place damp paper towels over your working area and make sure your measuring tools are not left lying around with dye powder on them.
Painting & Setting the Dye
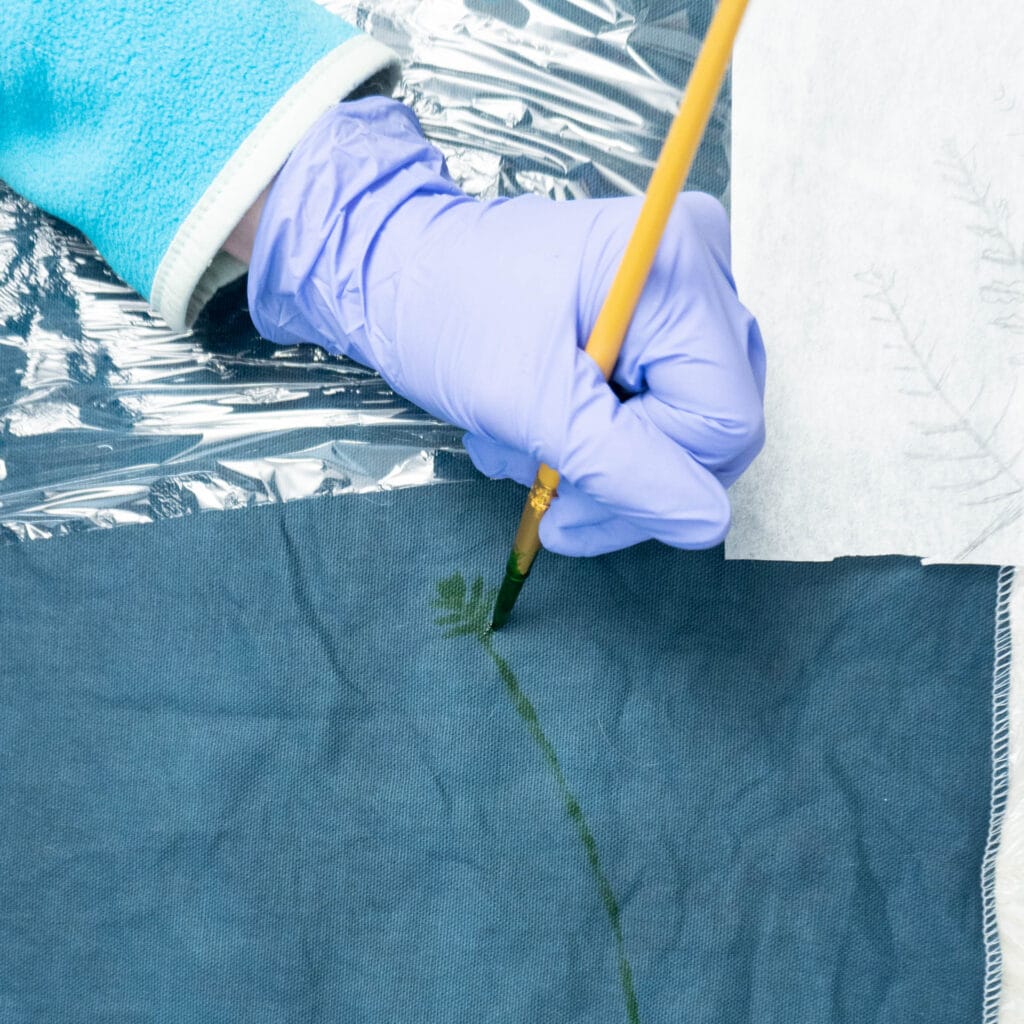
On to the fun part! Make sure your soda ash soaked fabric is still damp and place on plastic wrap. I used cheap paintbrushes for this project and they worked really well. Paint whatever your heart desires and once you’re done, wrap the fabric in plastic wrap to keep it damp for 24 hrs. Most of the dye will be set within 4 hrs, but I like to let the dye exhaust as much as possible.
After 24 hrs, rinse your fabric, then soak it in very hot, soapy water. Rinse again, then soak in warm water. Fiber reactive dyes will always have dye that doesn’t react with the fabric and it’s important to remove as much of it as possible. For home-use, the dyes are OK to go down the drain, even if you’re on septic (I’m on septic).

And that’s it! You can now use your one-of-a-kind fabric for your project. I continued adding to my fern leaves by screenprinting, which you can learn more about in my YouTube video!
-Sarah
Please note, some of my links are affiliate links and are a great way to support the effort I’ve put into creating useful, fun, and informative blog posts.