How to Plan a Weaving Project with Scrap Yarn
Like most people who do fiber arts, I have a stash of one-off skeins. Some of these are leftovers from projects, while others are special skeins picked up at fiber shows across the country.
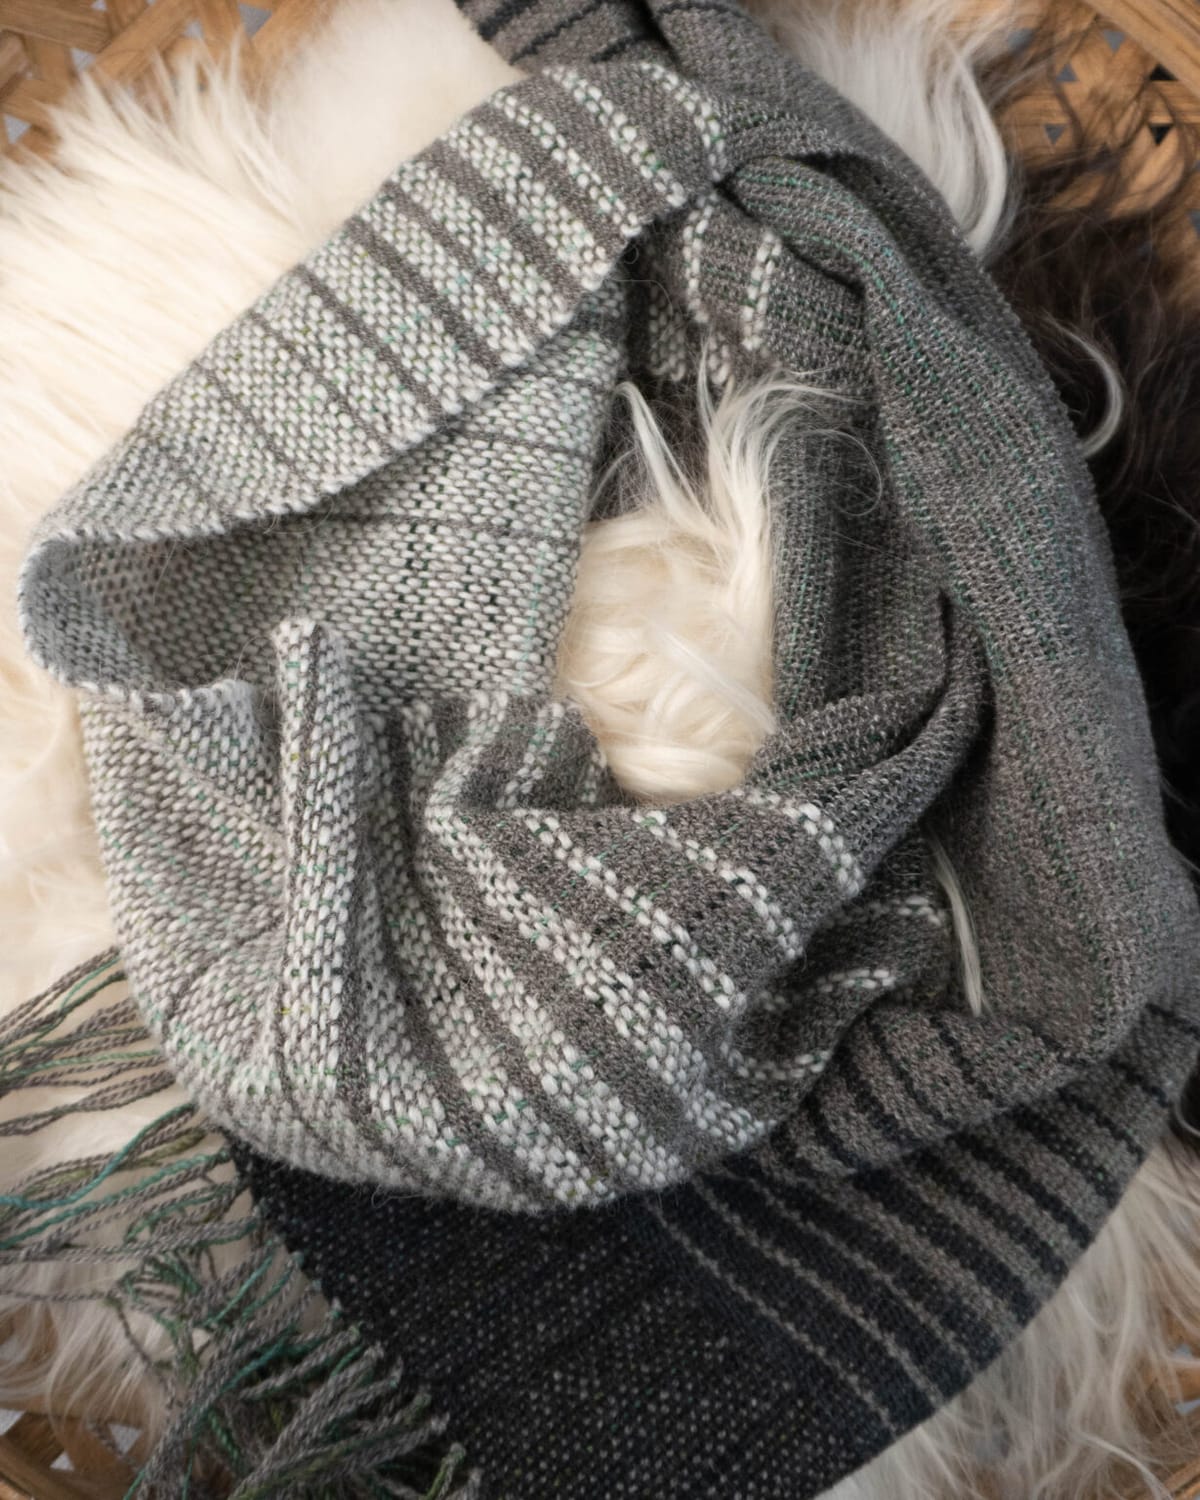
I tend to purchase grey yarn since it goes with almost any color, so why not weave a scarf with all this grey yarn?
One issue is most weaving projects call for a specific yarn and sett to go along with it. This obviously makes the project super easy to weave, but doesn’t help too much when trying to blend multiple skeins of varying weights together. Even though almost all the yarn I’ve purchased is fingering weight, the variance within that category is pretty large.
Another issue is take-up (how much the project changes length-wise from the actual weaving) and draw-in (width-wise changes from weaving). When you finish a project it needs to be wet finished, which will lead to more shrinkage in both length and width.* Since all my yarns are composed of different breeds of wool, I don’t want to wet-finish the scarf only to find out there’s some areas that shrink a ton and others that don’t shrink at all.
This means the first step to weaving with random skeins of yarn is to make a sample.
*From here forward I will refer to the combined take-up and shrinkage as just take-up and the combined draw-in and shrinkage as just draw-in.
Step 1: Sample
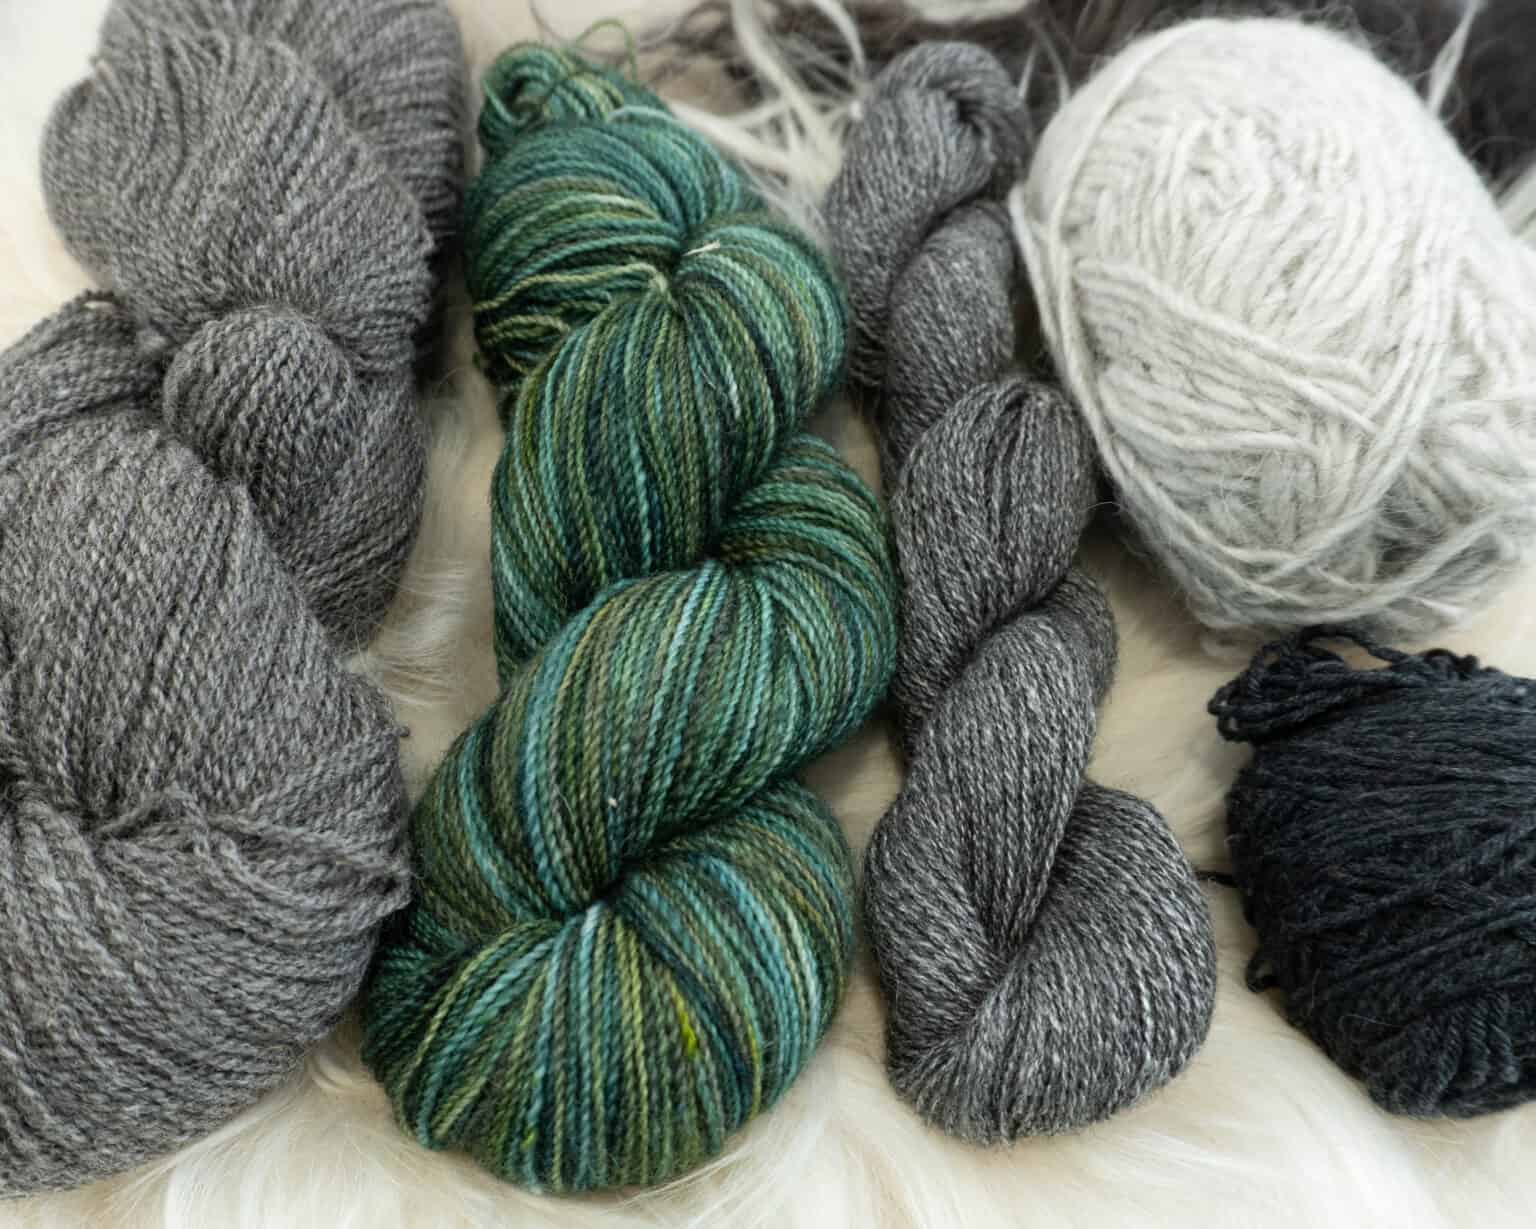
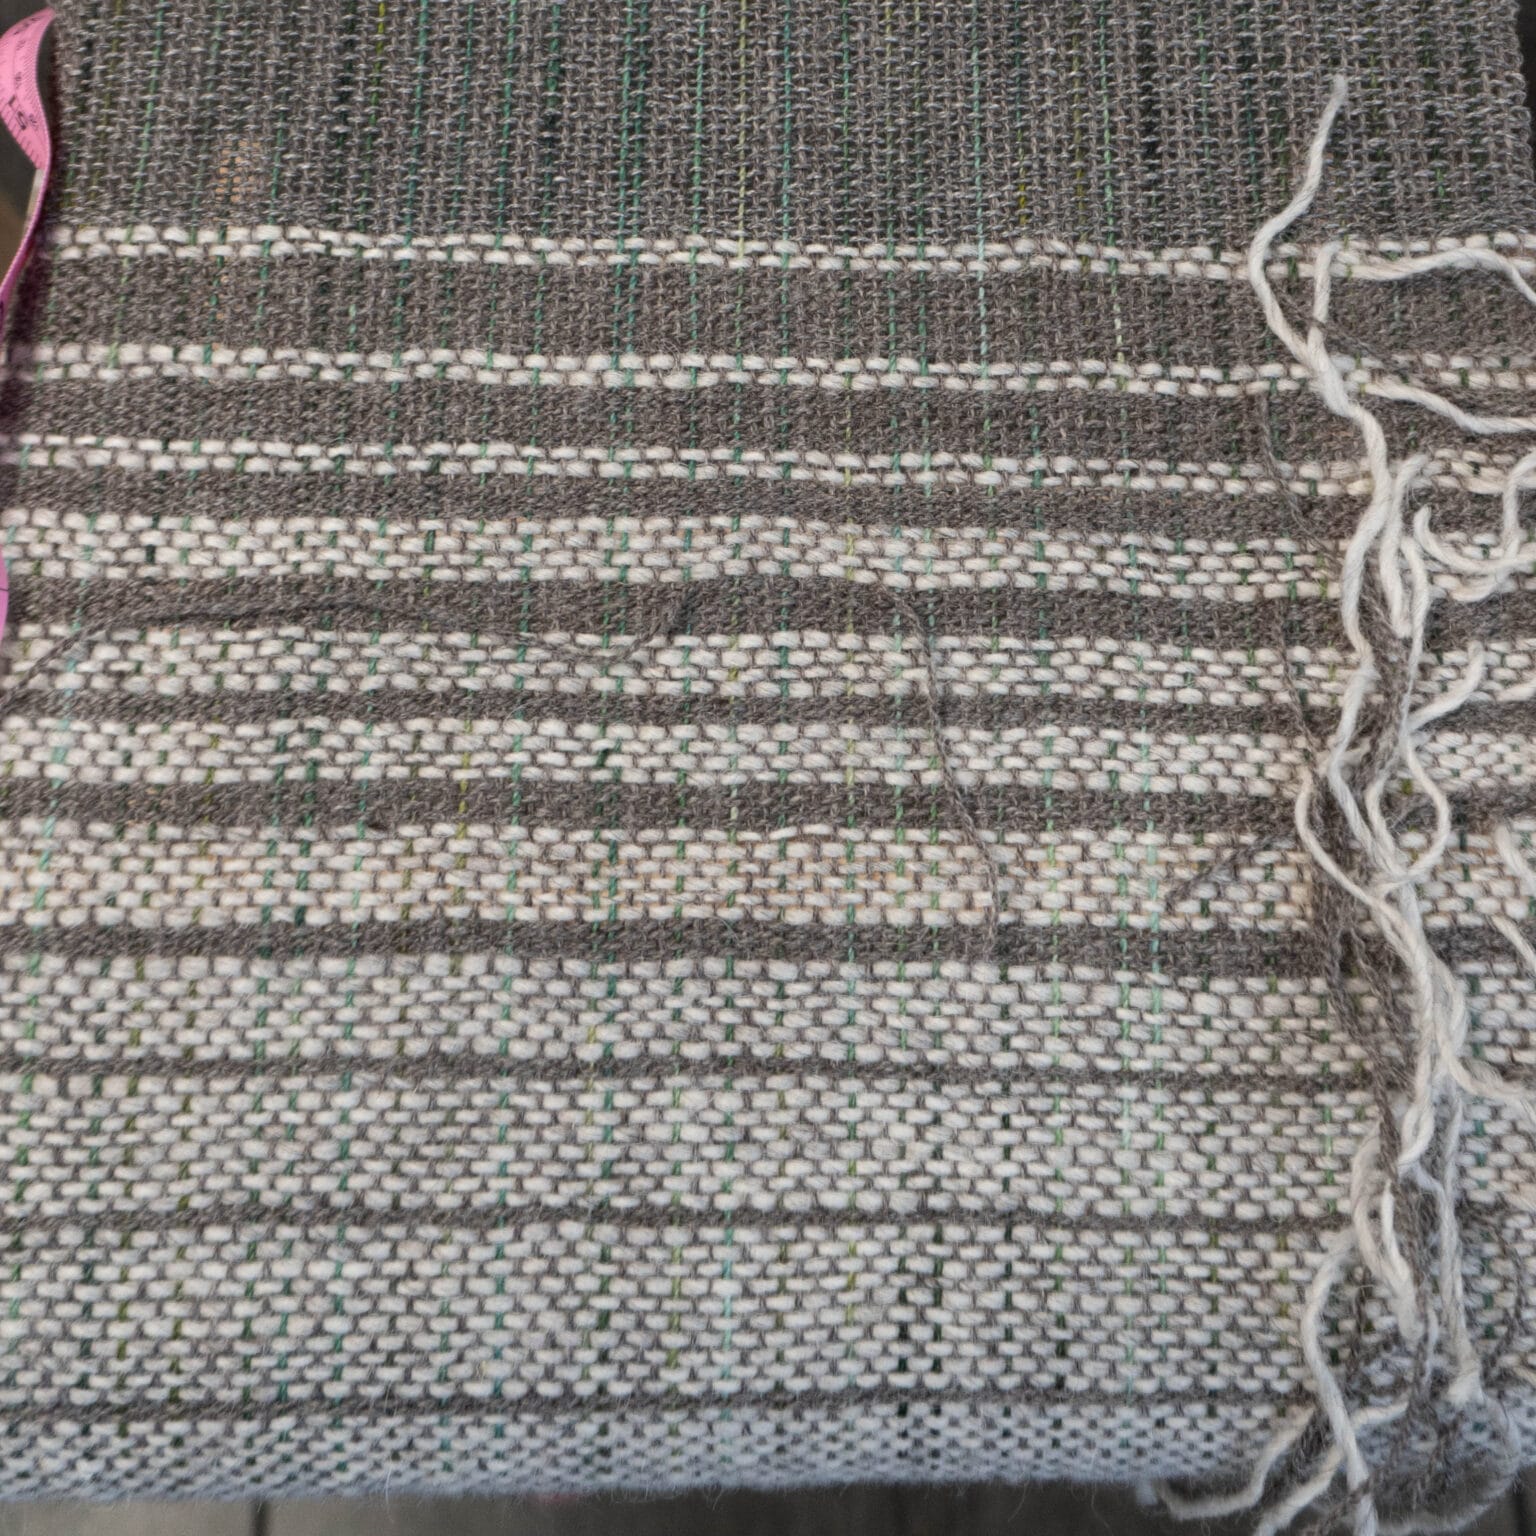
I had two types of yarn I wanted to use in the warp: a grey CVM/Alpaca blend and an East Fresian hand-dyed skein. The Fresian is dyed in shades of green that I only wanted to be randomly interspersed between the grey CVM/Alpaca, so that’s how I made my sample warp.
For the weft I had a few yarns I wanted to use: a white Lopi yarn, a grey Gotland/silk blend, a black yarn labeled as “wool” from Quince and Co, and more of the grey CVM/Alpaca. I tested two variations in the weave pattern: chunky stripes and alternating the skeins every few rows. I did this because I wanted to test the limits of how the end product would look depending on the draw-ins of each yarn type.
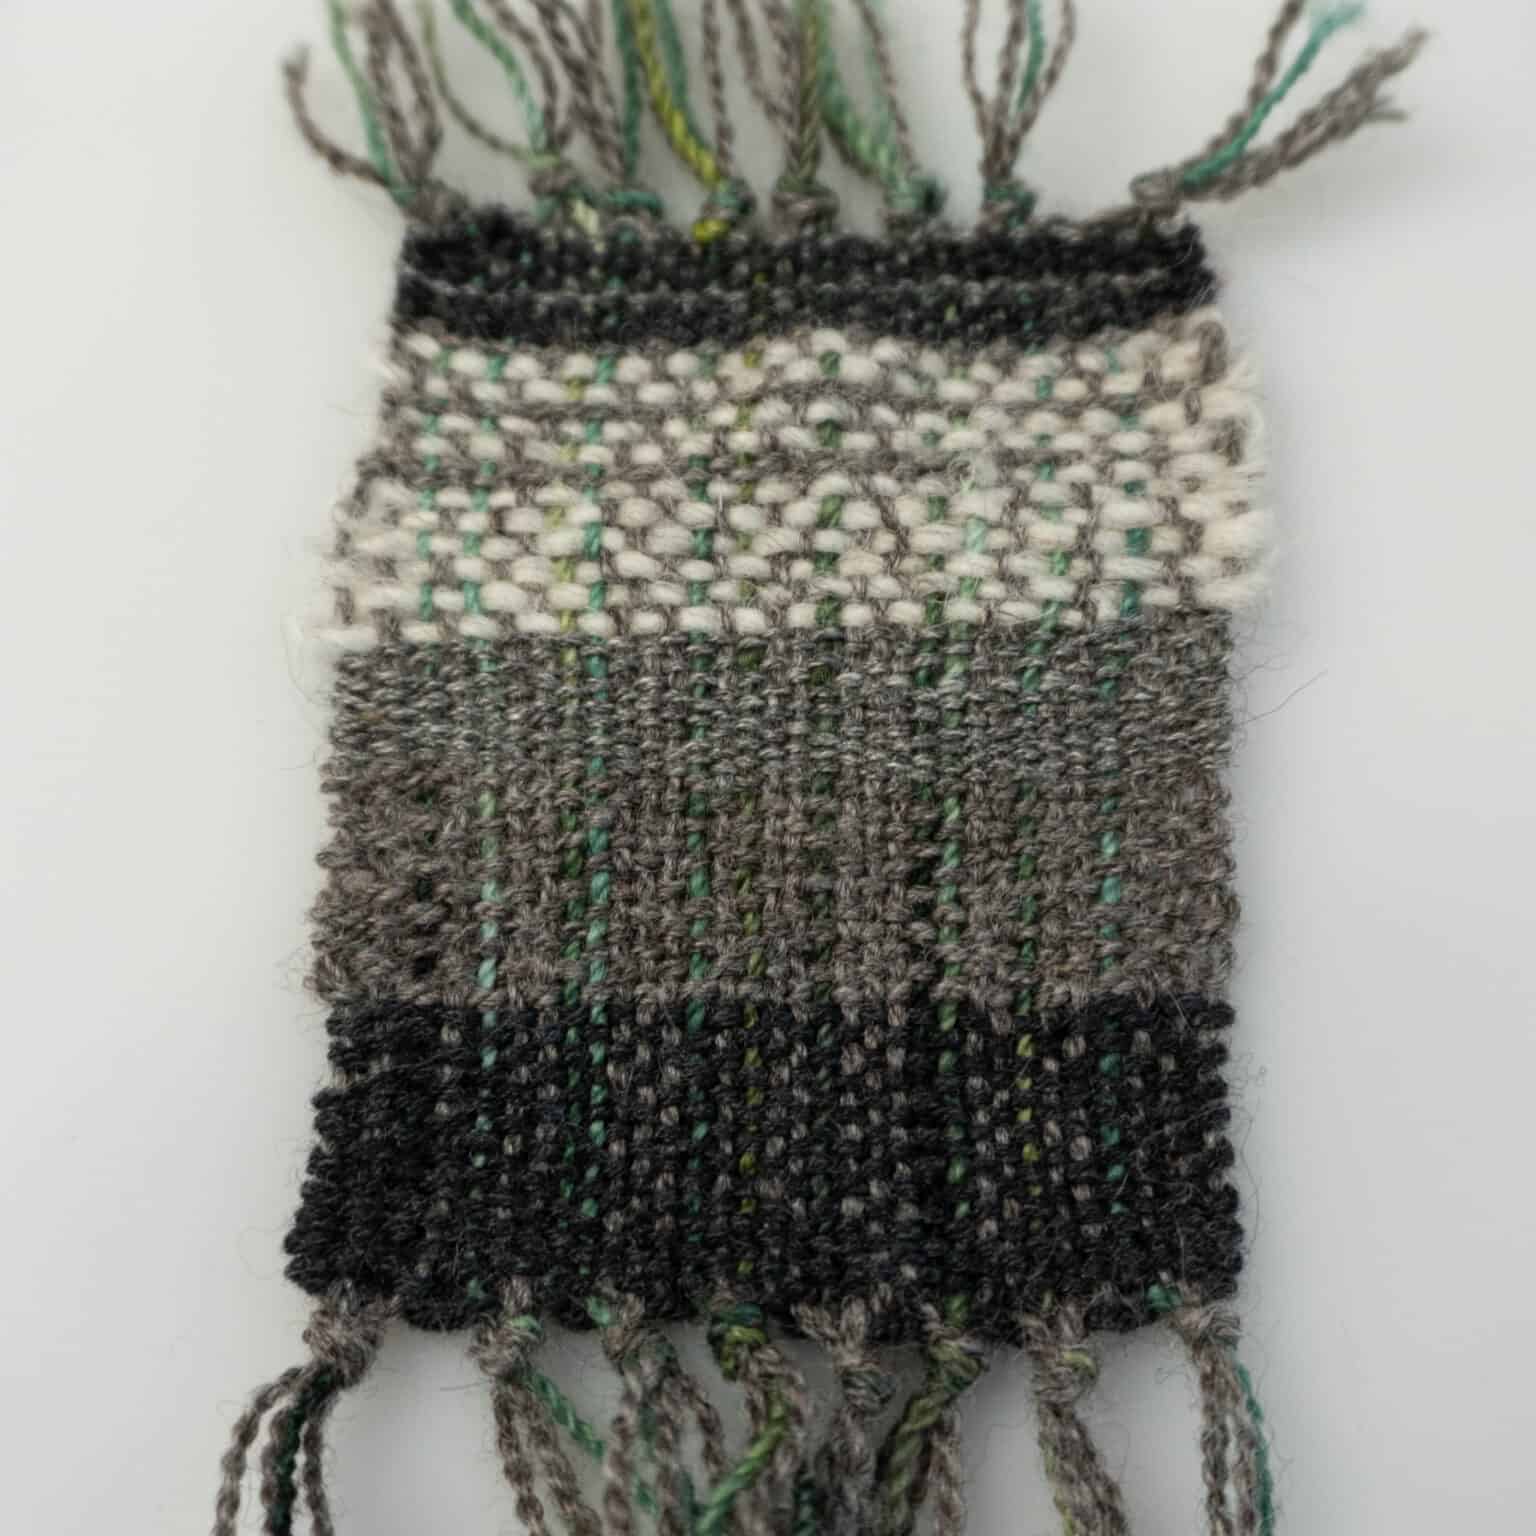
It’s very important to remember to measure your sample before washing, otherwise you’ll still have no idea what the draw-in and take-up is! After washing, I had 7% draw-in and 6% take-up with the Icelandic Lopi shrinking the least. All other yarns seemed to have a similar shrinkage rate, which was awesome. In order to account for the Lopi yarn, I made a note to pull the selvedges in a little more when weaving with that yarn compared to the others.
Another important thing to know about your yarn is the epi (ends per inch) and the ppi (picks per inch). The epi is how far apart your warp threads are; I sampled at 8 epi. The ppi can be figured out by measuring how many rows are woven in a given inch before washing. All my yarns were ~16ppi except the Lopi, which had ~12ppi.
Step 2: Create your Scarf Design
I’m not really a spontaneous crafter, but if you are, you could 100% just weave whichever yarns you like in whatever order now that you know they all play nicely together. If the yarns have clear differences in shrinkage, you should account for this in your pattern. One way to eliminate wavy edges is to not weave large stripes in one yarn. Alternating between various yarns will eliminate this issue. However, if you’re really set on stripes, you can try pulling the selvedges tighter or looser depending on the shrinkage like I planned on doing with the Lopi. I think this is a riskier plan because you can over/under account for draw-in.
I really wanted to create a symmetrical gradient scarf since I had yarn with colors going from black to white. This led to another issue to figure out; how much can I weave with each skein of yarn? Normally the pattern will tell you how much to purchase for a project, but we will have to do some math to figure this out ourselves.
Step 3: The Technical Aspect of your Design
If your yarn is labeled, make sure to write down the total yardage and weight. If it’s not labeled, you can guesstimate the yardage by following the steps outlined by Interweave.
I picked a scarf length of 70″ with 8″ of fringe on either side and a width of 12″. Since I know the shrinkage in both directions I can calculate how big the scarf needs to be woven to end up the ideal size. I have another rigid heddle post that covers calculating warp and weft in more detail, so I’ll leave those steps out.
I’ll need to weave the scarf 13″ wide with a total of 104 warp ends. Each warp end will be rounded up to 105″ long and I’ll need a total of 301 yds for the warp. I have plenty of yarn for this so now we can move on to figuring out how much length I can weave with each type of yarn.
I only have so much yarn to work with, but I can calculate how far each skein will go with two simple equations. We finally get to put all our numbers to work!
# of picks = total weft (in) / width in heddle (in)
This first equation will tell us how many picks I can weave based on how much yarn I have. My width in heddle is 13″.
woven length = # of picks / ppi
Then I can take my # of picks and divide it by either 16 or 12 ppi depending on which of my yarns I’m trying to figure out yardage for. Here’s how many inches I can weave with each yarn:
- Lopi=23″
- Gotland/Silk=29″
- Wool (Quince and Co)=17″
- CVM/Alpaca = 30″
Since I used the CVM/Alpaca in the warp, I needed to count how many ends I warped with that yarn to subtract from my total skein I started with. I ended up using 208 yds of CVM/Alpaca in the warp.
At this point in the design you could start weaving, knowing that you have enough yarn to make your scarf. To make the gradient symmetrical, divide the total amount of yarn in half for each color besides the one that will be your reflection point and start weaving! However, I decided I didn’t want there to be a sharp transition between colors, so I did some more calculations to create a slow gradation between colors.
Step 4: Designing the Gradation
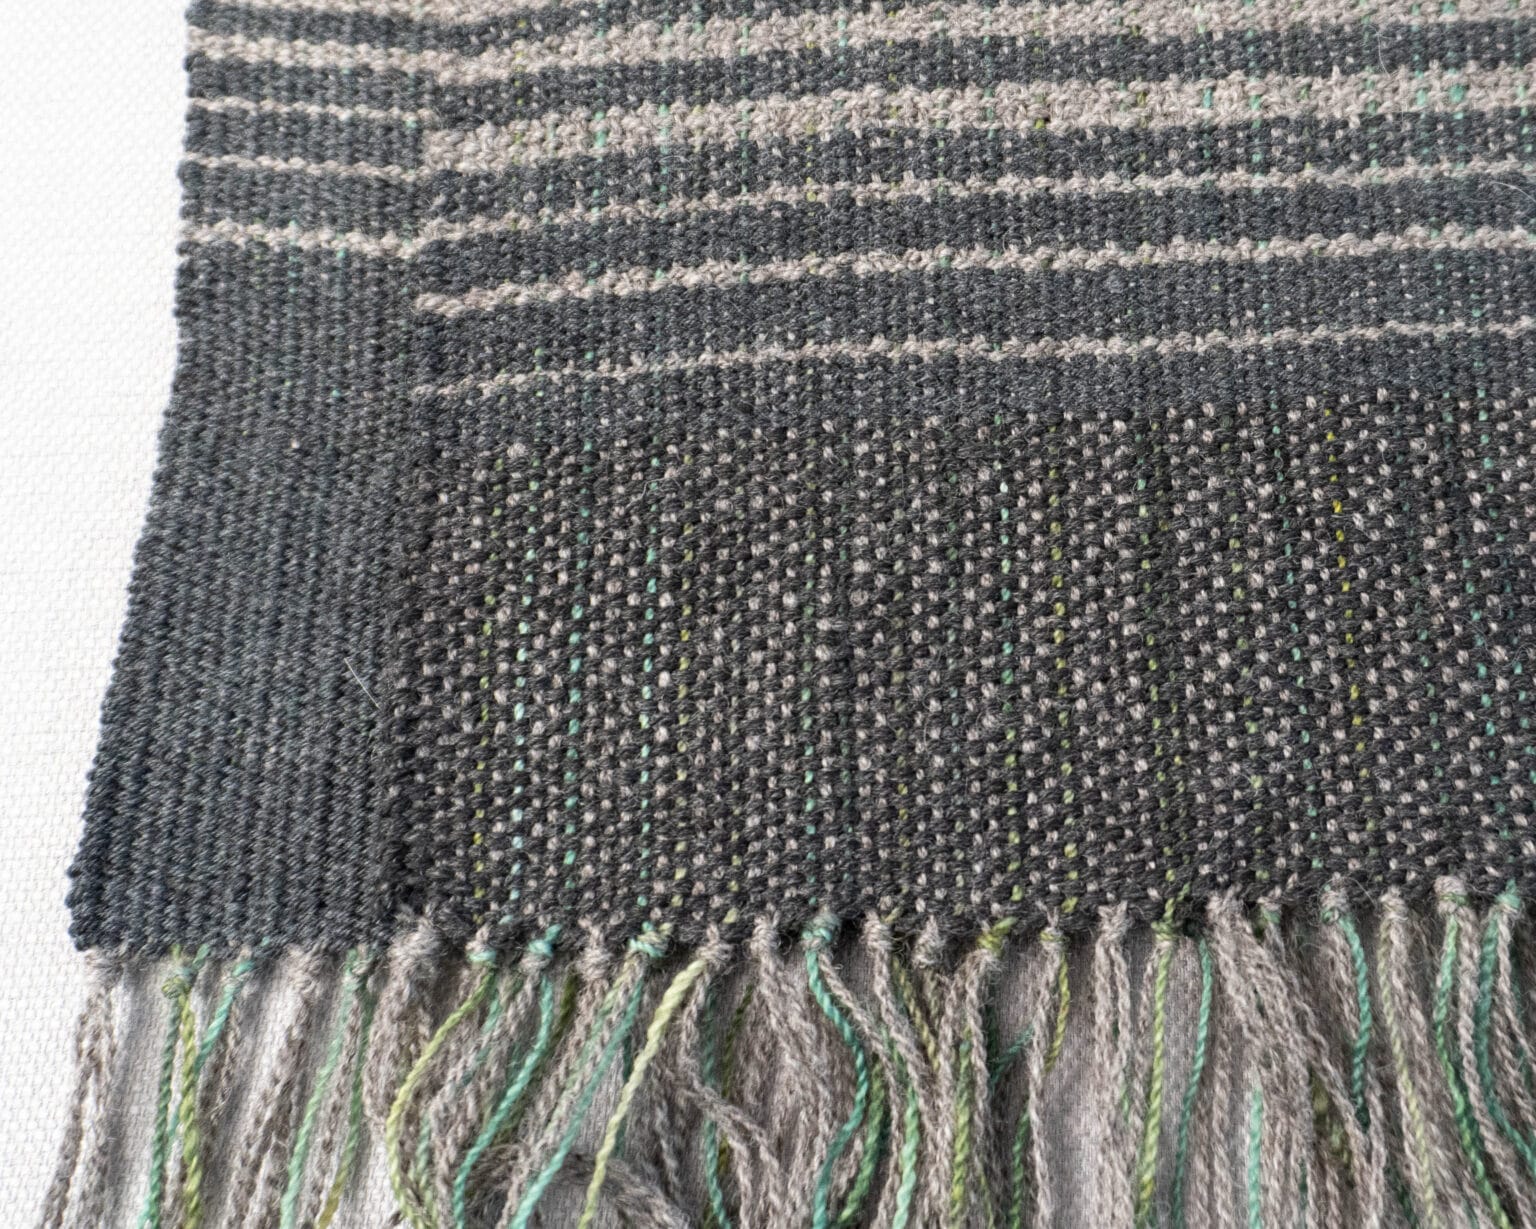
I wanted the black to grey to white color blocks to be balanced, so I took the time to sketch out what the scarf would look like, using the max number of inches I could weave with each skein as a reference. I planned each black color block to be 7″, the grey blocks to be 20″ (using multiple grey yarns), and the white block to be 20″. From the sketch I could see a 6″ transition would look really nice, so I worked backwards from that.
I ended up sketching what the transition would look like as well, which was very helpful. I ended up using 96 picks for each transition, which looked like this:
2-10-2-8-2-6-4-6-4-4 | 4-4-6-4-6-2-8-2-10-2
Going from left to right, the first “2” is your first two picks of the color you are transitioning to. The first “10” is the color you’re currently weaving. The numbers tell you how many picks to throw of each color. The mark in the middle of the numbers is the reflection point of the transition.
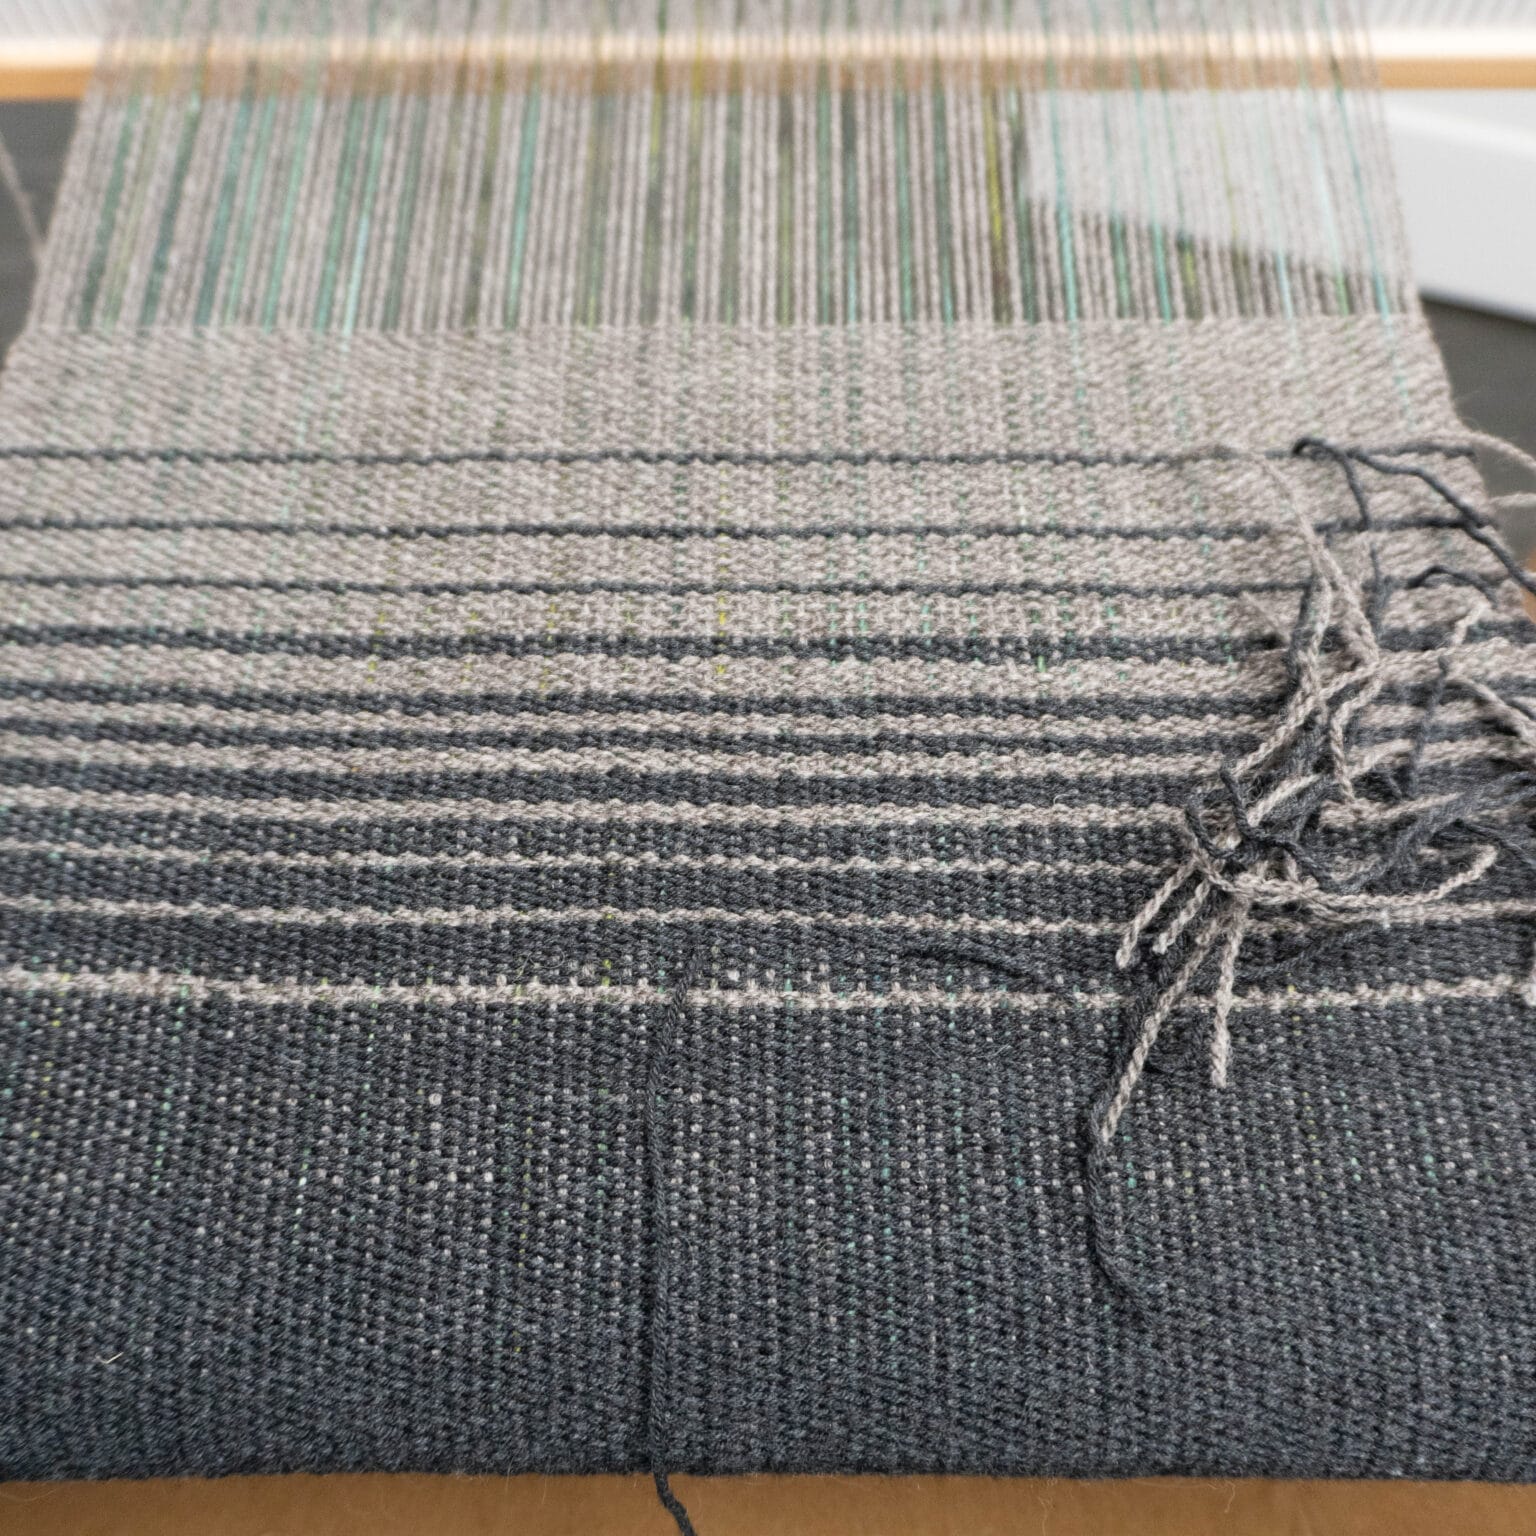
Step 5: Weave & Check Math
If you’re unfamiliar with weaving, I do have a YouTube video that covers the entire weaving process, so I’m not going to cover those details in this blog post. Once I started weaving, I immediately realized I forgot to weigh my black yarn, so I didn’t know how much to use for the first half of the scarf. I did use too much on the first half, but thankfully I had some extra Cascade yarn that I used to weave the other end to make the scarf balanced.
As I was weaving, I made sure to adjust my benchmark numbers. For example, the grey to Lopi transition was closer to 9″, so I made sure to reduce how many total inches were to be woven in the Lopi section to ensure the scarf didn’t get too long.
I ended up having some leftover yarn of each color, other than the black Quince and Co. I purposely left a buffer incase my math was off or the ppi weren’t quite correct, so this was perfect!
You can apply what’s in this post to any project you’re interested in creating, and I hope you do! If you’re interested in seeing me weave this project, check out my YouTube video.